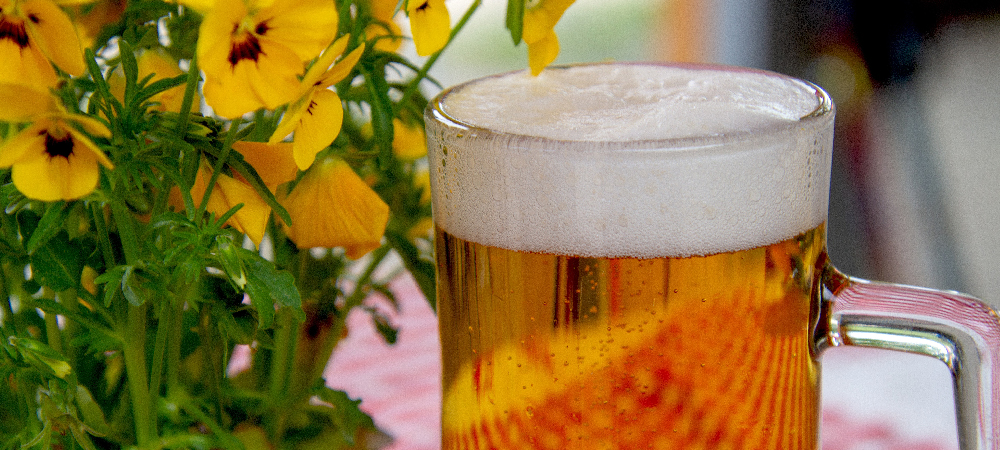
Remember ten years ago when we all used to laugh at hipster guys who wore flannel, rode custom fixed gear bikes and brewed their own beer? Well, I guess the joke’s on us. Let’s be honest, those are all pretty wicked hobbies “” especially the beer brewing “” and flannel is showing no signs of going out of style. Grab your slouchy toque and thick-rimmed glasses and get ready to plant some hops, cuz it’s time to make some ice-cold homebrew.
Hops
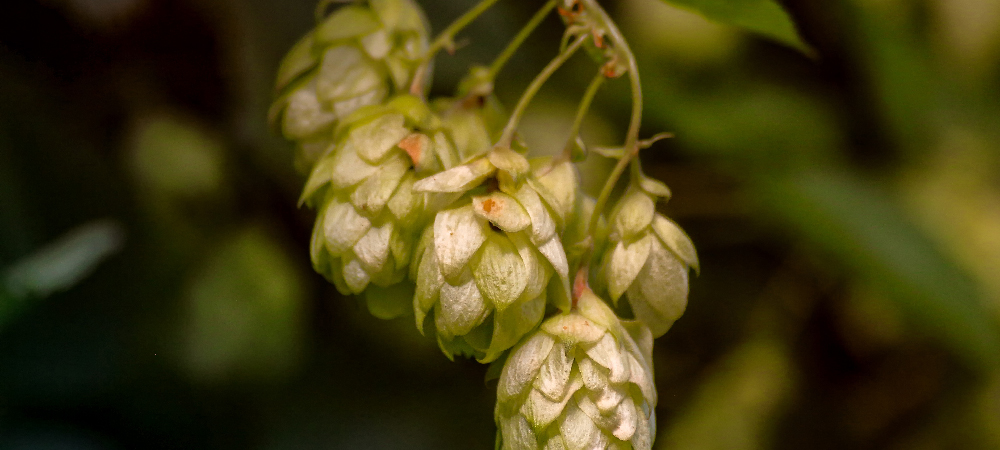
We all know that grains are pretty much the foundation of any beer, but that’s only one element that makes up its complex flavour. While it’s definitely a major component in the beer-brewing process itself, the real flavour comes from hops.
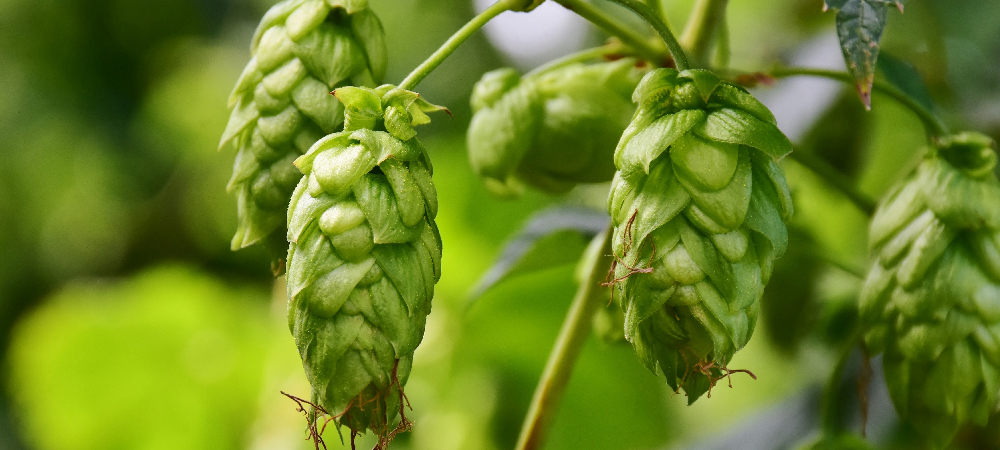
Hops are a small, green flower that looks very similar to a pinecone. Like irises, they grow from a rhizome, but instead of growing on top of a tall stem, like other flowers, they grow on a vine called a bine (which is confusing, right? Are you a vine or a bine? Make up your mind!) Vines can curl around a trellis or even a piece of rope, growing little cones that are packed with that potent fragrance that gives beer its distinct, layered flavour.
Choosing Your Hops
When it comes to choosing which hops to grow, you’ve got a lot of options. Currently, there are over 20 varieties on the market to choose from, each offering a different flavour profile for your brew. Popular varieties include Willamette for floral, fruity, earthy, and spicy notes; Centennial for citrus notes; Cascade for spicy, citrusy, and floral notes; and Mosaic for earthy, tropical notes. The basics to choosing a hops variety, however, is knowing whether you want a more bitter or aromatic flavour.
Bitter hops varieties will have a higher acid content and are boiled into the beer to add depth and density to a beer. Aromatic hops have much lower acid content and are added during the fermentation process to brighten the flavour, giving it plenty of fragrance.
To grow your hops, plant your rhizome in spring in very well-draining soil, packed with nutrients. Plant them in full sun to bring out the best flavours and give them plenty of water as they grow.
Hops bines will need a strong structure to climb as they grow. You can build a trellis, but a more popular method is using strong rope that is attached to a building. As they climb, you will need to train the bines much like tomato vines. Tie them lightly as they climb and trim any trailing vines, leaving only the strongest to survive.
Harvesting Hops
When it comes time to harvest, you’ll know your cones are ready when they feel dry to the touch and have a strong hoppy smell that’s kinda onion-y, and kinda grassy. Give one a squeeze”” if it stays smushed, it still needs some time, but if it puffs back up to its normal shape, it’s ripe for the pickin’. Another test to check for readiness is slicing them in half”” if it’s full of yellow powder, then you’ll know it’s good to go. If they’re underripe, it’s pretty much a waste, since they won’t contain enough of those sweet sweet alpha acids that give beer that punchy, satisfying bitterness.
If it’s your first year of harvesting hops, pick your cones off by hand. After the first year, harvest your hops by cutting the entire bine 2 feet from the base of the plant. Be sure to wear protective gloves and thick clothing, because hops are covered in prickly hairs that can give you a gnarly skin rash.
Using dried hops is recommended over fresh hops, because hops straight off the bine are mostly water-based, and you’ll need to use 5-6 times as much than if you were to just use the dried stuff. There are a few different ways to dehydrate them, a food dehydrator being the easiest method. If you don’t have one of those handy, you can buy an air filter screen and spread your hops across it. Cover it with a dark cloth, place it in a warm area near a fan so there’s plenty of air circulation, and give them a shake every so often to make sure the ones in the middle get enough air. Don’t leave them out for more than 72 hours, or else they’ll be spoiled from oxidation. You’ll know they’re dry and ready to go if they’re brittle and you can easily snap one in half. If you’re not using your harvest right away, freeze them in an airtight bag with as little oxygen as possible.

Customizing Your Brew
You can find hundreds of recipes online for different beer flavours, everything from stouts to lagers to IPAs. These tend to be tested, tried and true combinations for awesome flavour in one go. If you’re more of an experimenter like me, here’s some of the flavour basics:
Fruits are a great way to add fresh flavours that brighten a beer, especially lighter wheat ales. Some tart, fresh raspberry juice or a spritz of something citrussy will go a long way. If you’re into spice, chillies will add a pretty potent kick to beer, perfect to pair up with some hot wings for game night. If you wanna get real fancy, herbs like basil, cilantro, lemongrass, and thyme add an earthy touch, while lavender, chamomile, and rosehip will add some fragrant floral notes. Pine flavours can be added with juniper berries, rosemary, and spruce to amp up the hoppy flavours. You can also experiment with other flavours like chocolate, coffee, cinnamon, clove, nuts, and vanilla. I once had a friend offer me a sip of their homemade toasted coconut porter”” let’s just say, I was hard-pressed to pass the bottle back to them. It was crazy delicious.
No matter what flavours you pick, remember that the fresher it is, the better it will taste in your brew. If herbs and fruit are your jam, fresh picks from your garden will give you the best flavour possible.

Homebrewing Basics
Beer making may seem like a complex process, but it’s actually fairly simple to get the hang of at home. To learn, you can try taking a class or take advantage of the dozens of tutorials available online. To save you some time, though, here are the basics:
Get yourself a brewing kit, bottles, and grains. You can find these online or at a local homebrew store. Bonus time-saving points if you buy your grains pre-cracked.
Start by boiling some water. Tap water is fine if it’s not too chlorinated. Next, add your grains in a brew bag (basically a giant tea bag) and let steep for 30 minutes, stirring occasionally. If you like the bitter flavours of IPAs, add your hops now.
After 30 minutes, remove your bag of grains and allow it to drain on its own (do not squeeze). Congratulations, you now have wort. This is basically just a sugary grain tea. Cool it to room temperature, then drain into your fermentation bucket. Add your pitch yeast, then seal the bucket and shake to oxygenate.
Your wort will now have to sit for 2 weeks in a cool, dark place. After a week, you can add your flavours, including aromatic hops. Place them in a muslin cloth (essentially making another tea bag) and leave it in the wort for the remaining week.
When this week is up, boil some priming sugar in water and pour this into your wort. This will create a reaction with the yeast to make natural carbonation. Once it’s all fizzed up and ready to rock, you can fill up some bottles. Don’t crack one open just yet, though. They still need to sit in a cool, dark place for another couple of weeks before they can be popped into the fridge and enjoyed!
Anyone can brew their own beer at home. All you need is a good harvest and a few weeks to make some fermented grain magic. In no time, you’ll be a master of the brew, crafting cold ones like a pro. And with a fresh supply of hops in the backyard, you’ll never have a shortage of supplies!
Please enjoy responsibly.